Prerequisites
- A signed-in dashboard account at app.agntix.ai.
- An existing agent (see Build your first agent).
- For PSTN calling: at least one phone number imported on the Phone Numbers page. Twilio/Telnyx are supported out of the box; you can also import a custom (BYON) SIP trunk.
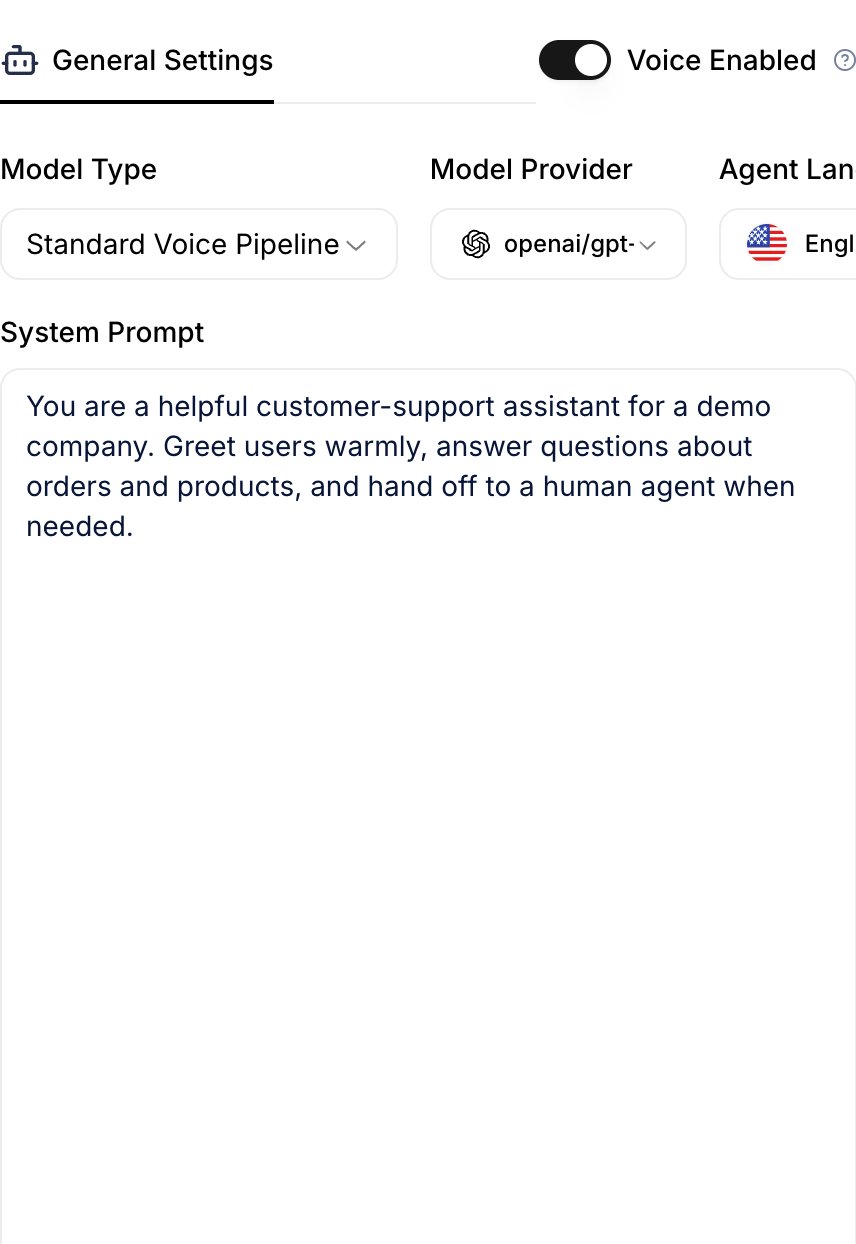
Step 1: Enable voice on the agent
Open your agent at/agents/{id}. In the top-right of the General Settings card, flip Voice Enabled on.
- Pipeline (STT → LLM → TTS) — three separate models. Best quality and most flexibility; slightly higher latency.
- Speech-to-Speech (STS) — a single multimodal model (e.g. OpenAI Realtime, Gemini Live) handles audio in and out. Lowest latency; fewer provider choices.
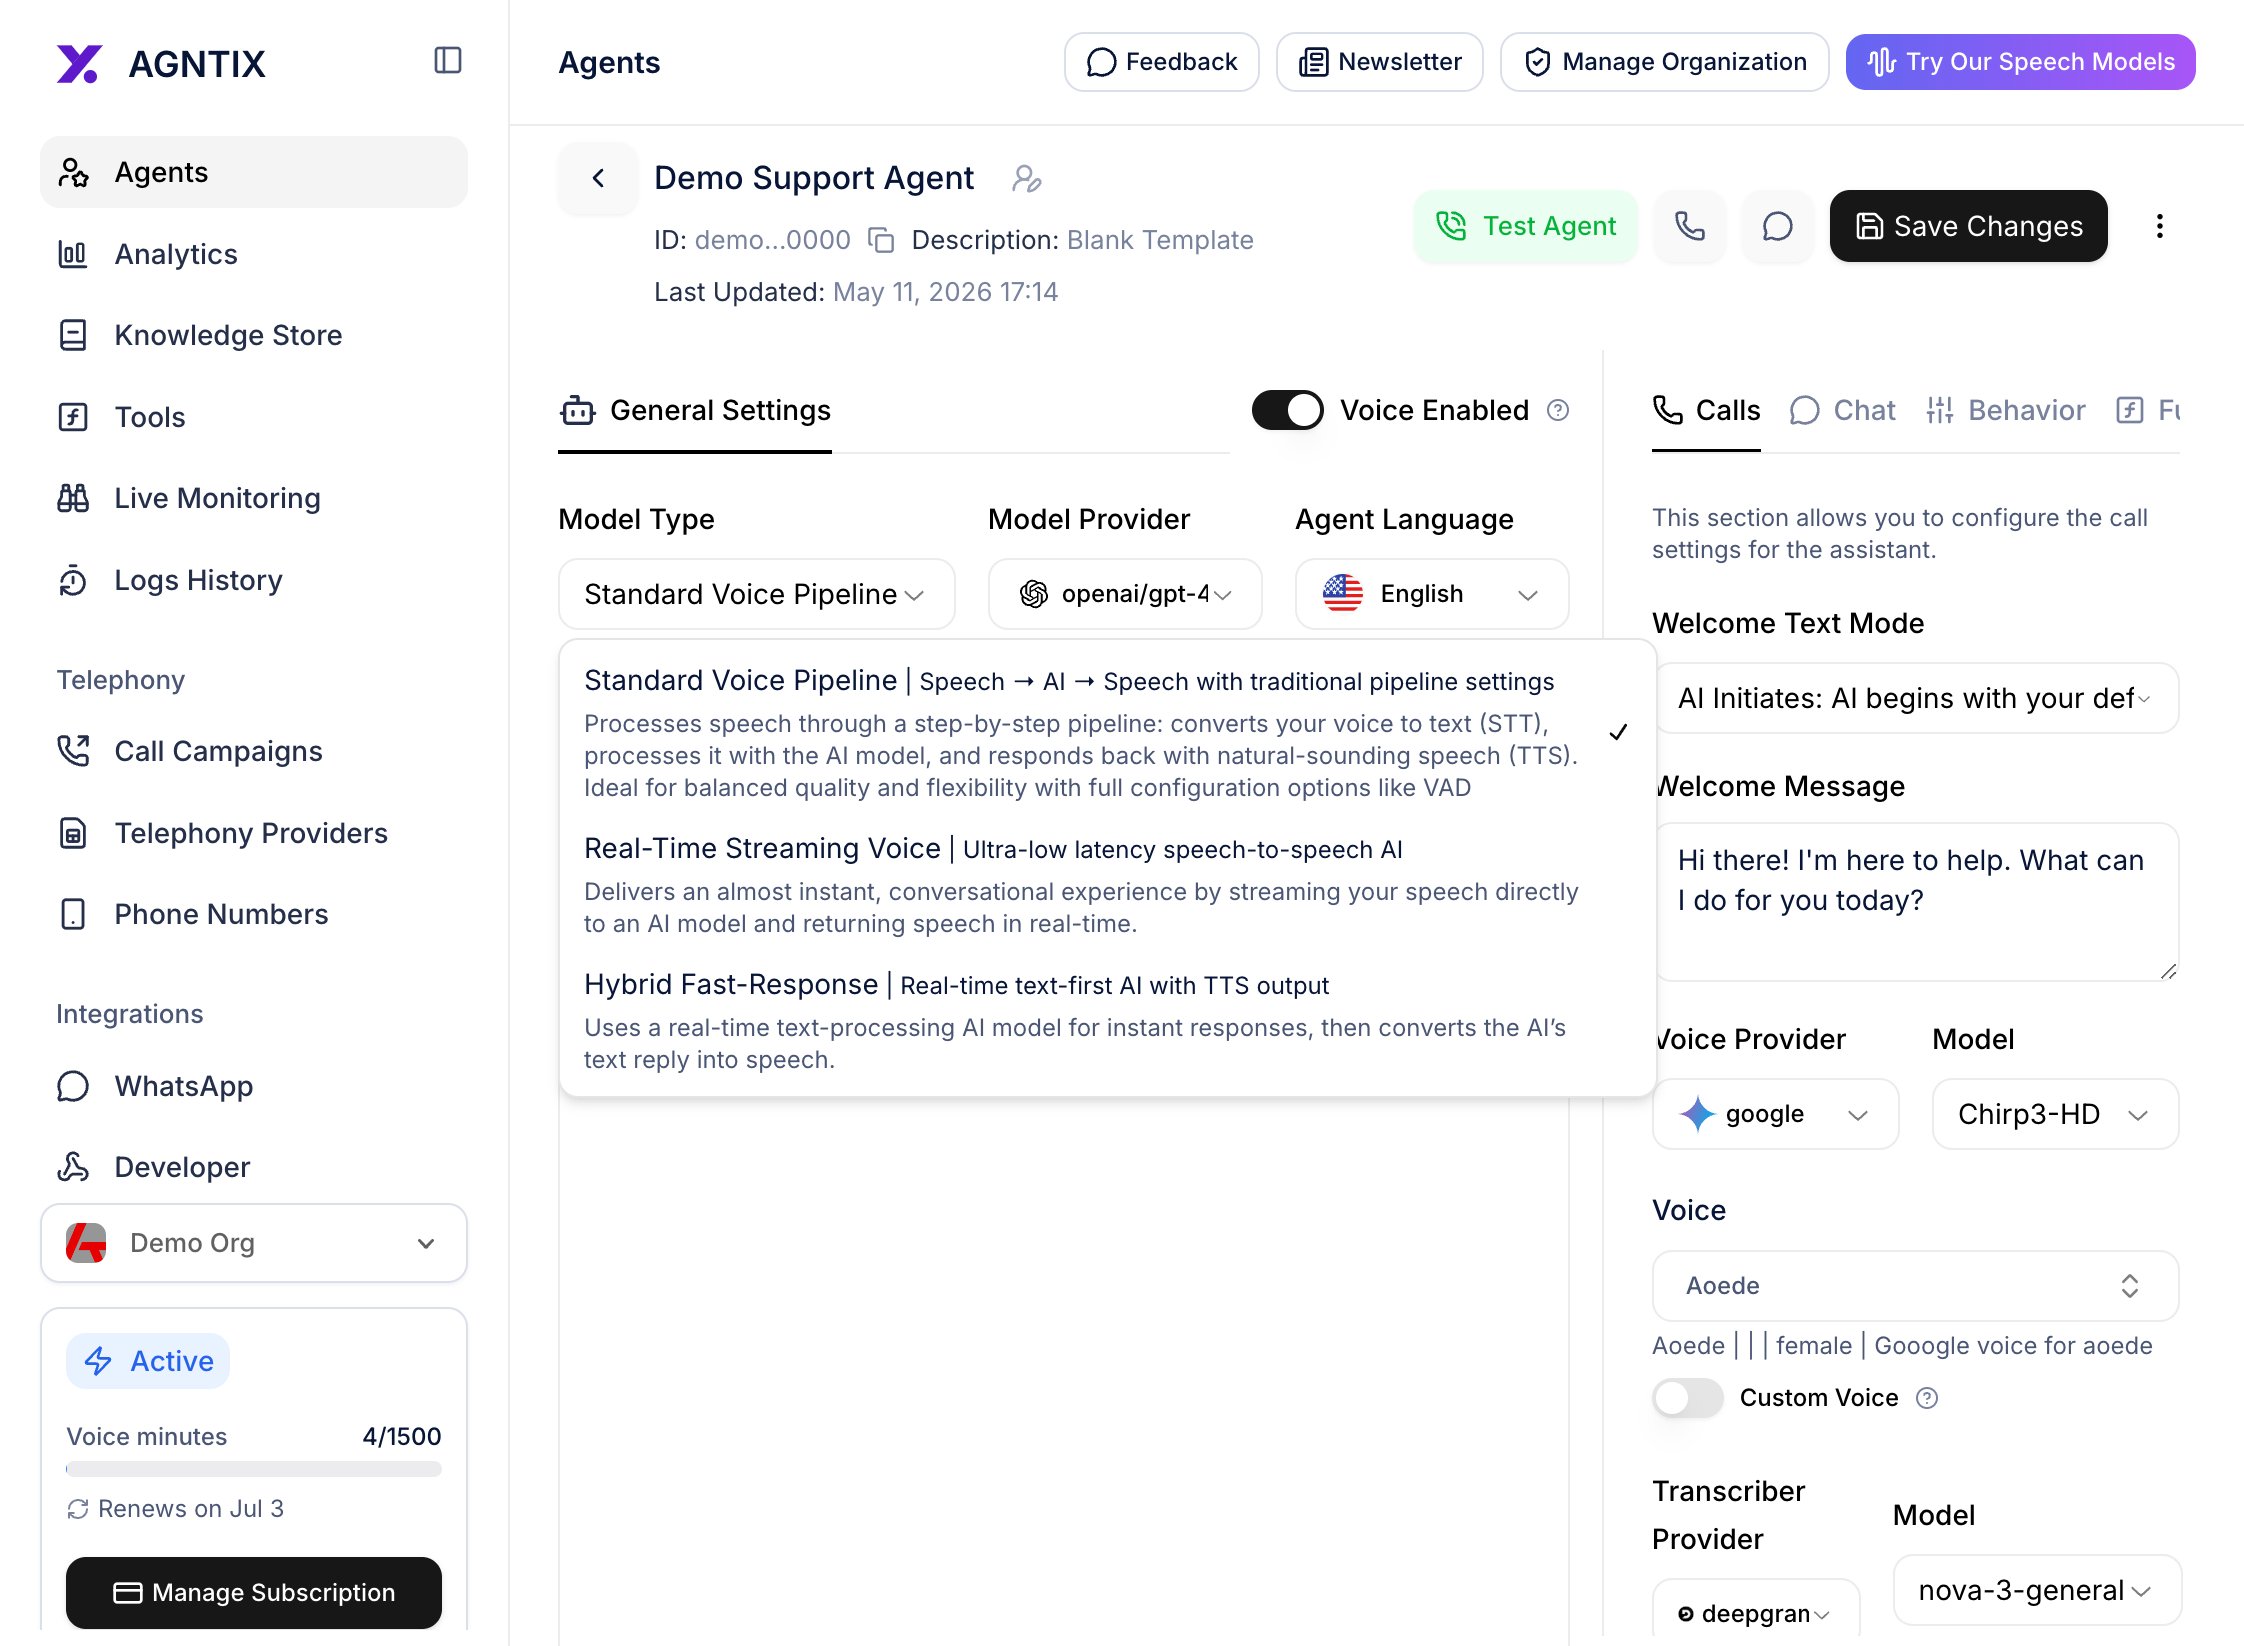
Step 2: Configure TTS and STT
Switch to the Calls tab on the right side of the agent page. You’ll see the voice-pipeline configuration:- TTS Provider — ElevenLabs, Google, OpenAI, Cartesia, Deepgram Aura, and others (depending on what your org has access to).
- TTS Model — model variants offered by the provider.
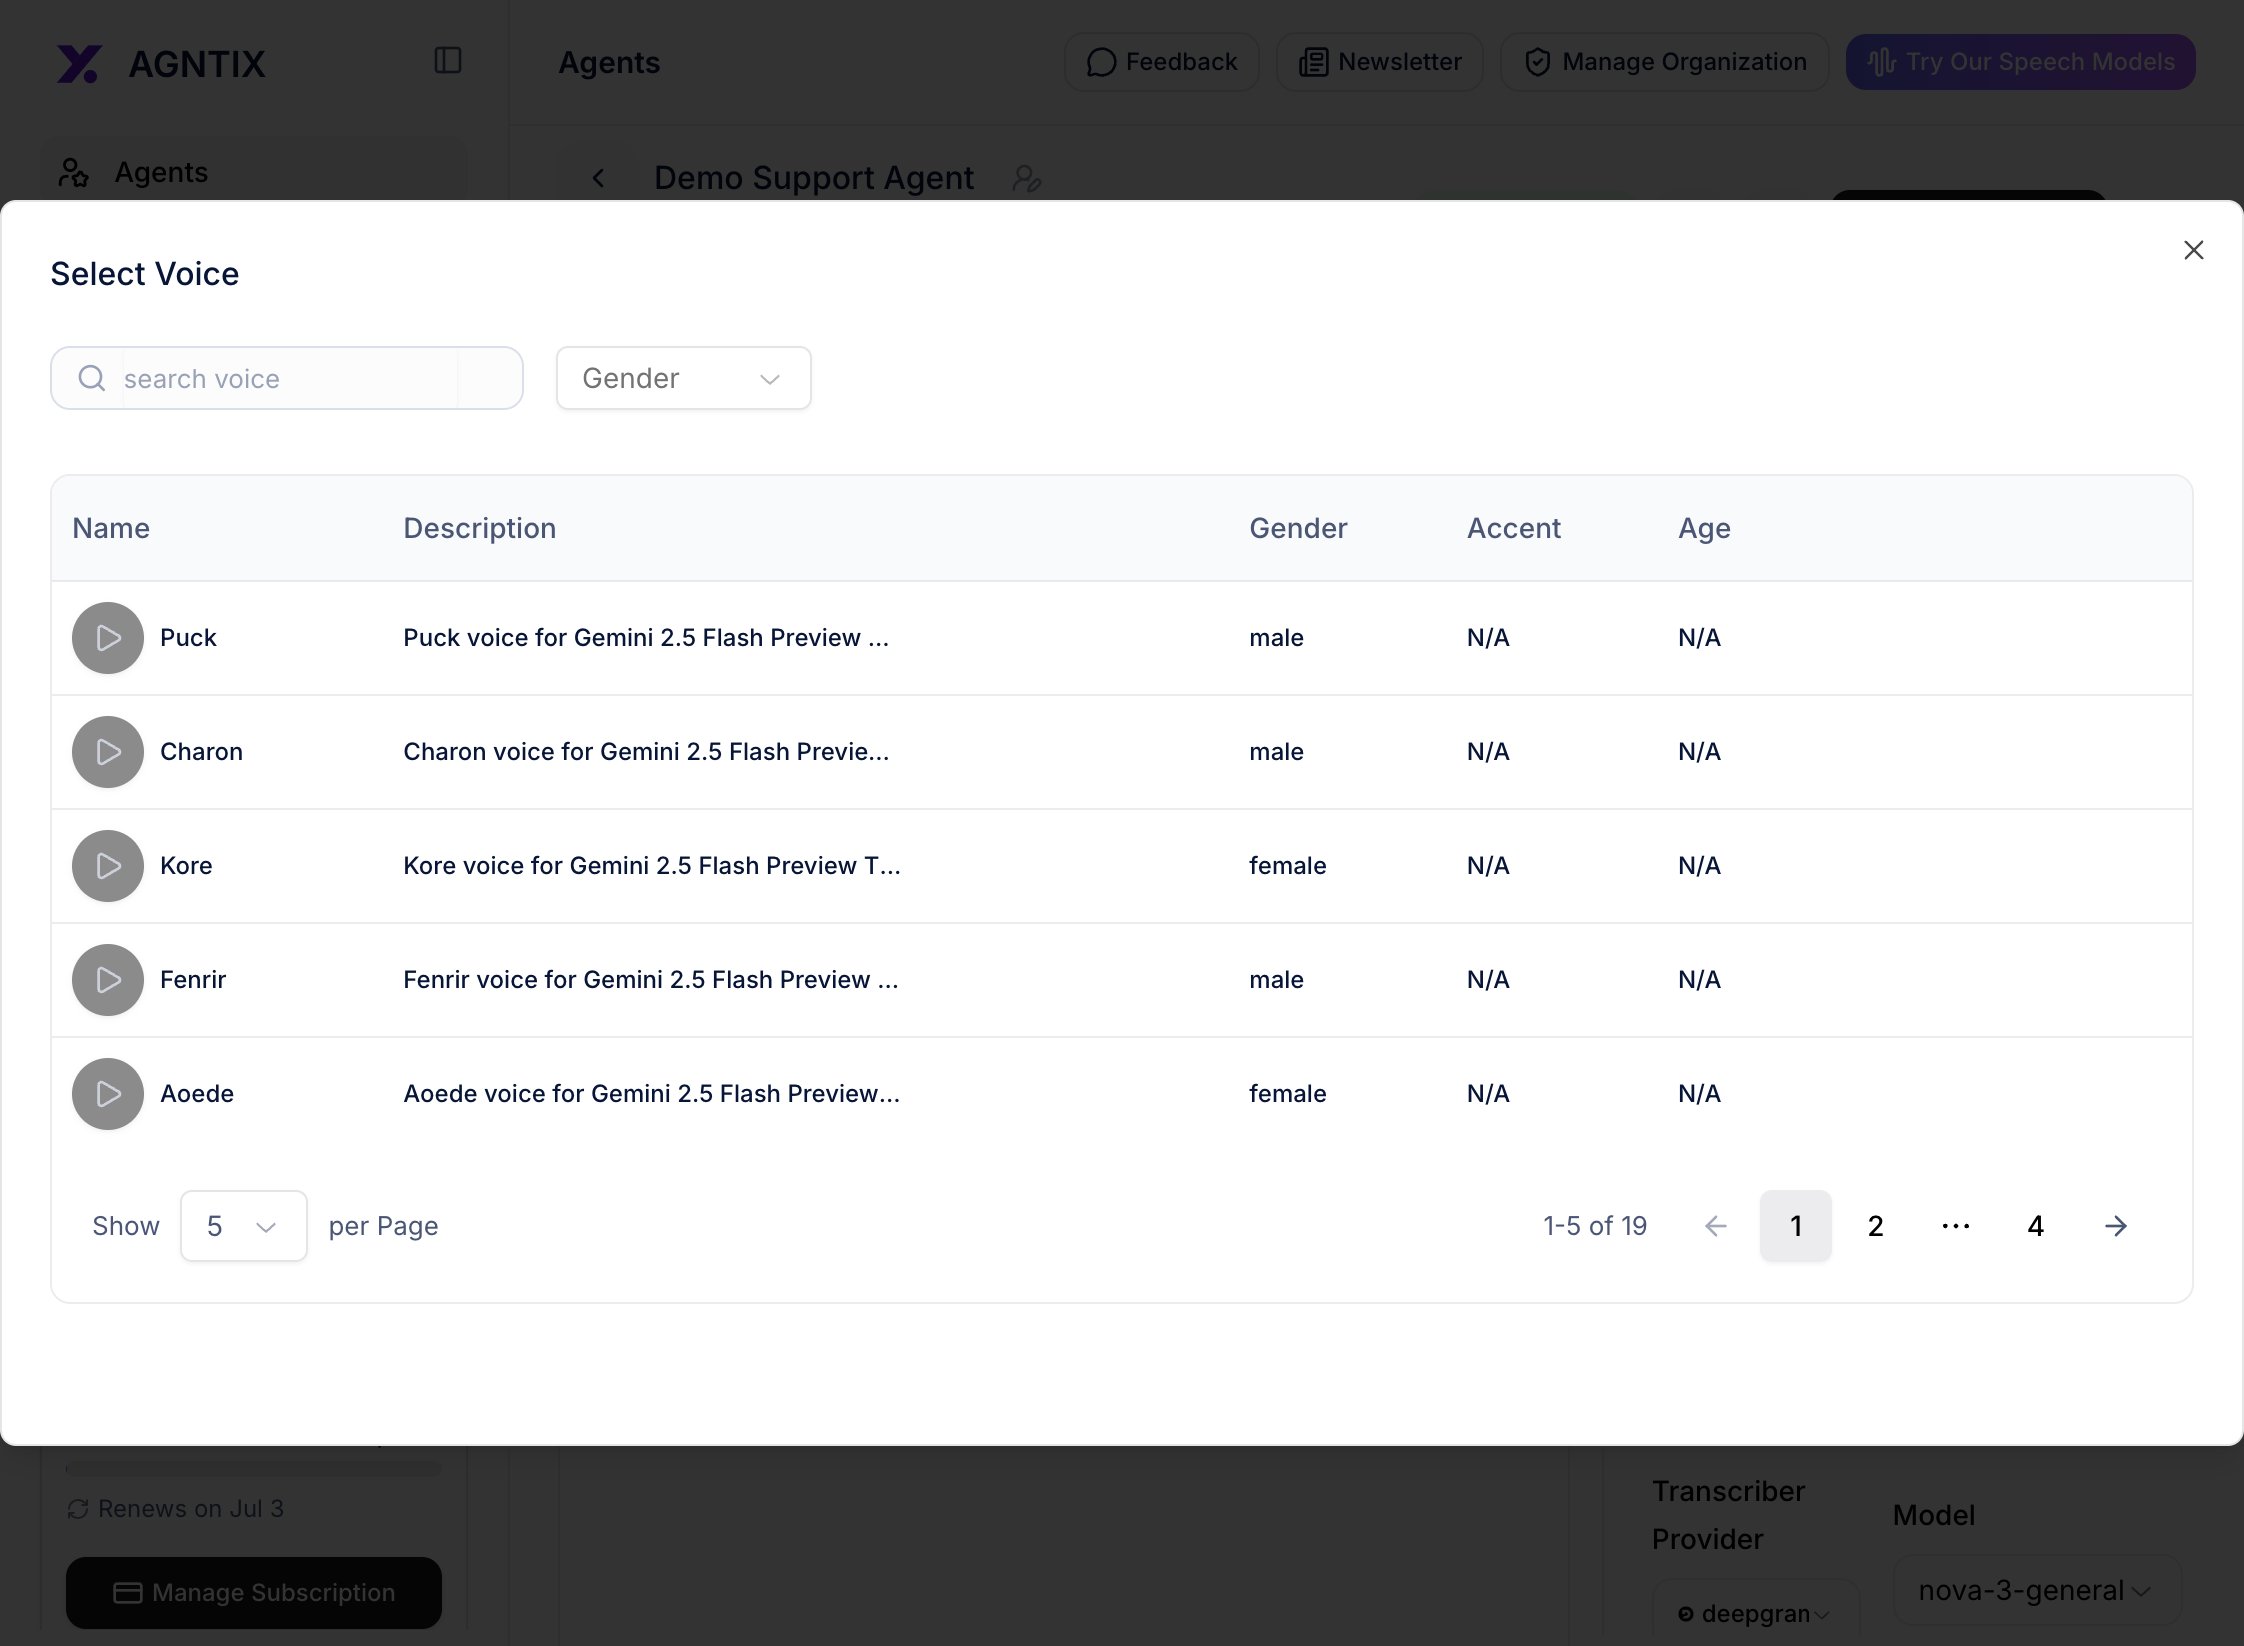
- Voice — the specific voice (preview each by clicking its play icon).
- STT Provider — Deepgram, OpenAI, Google, Azure, etc.
- STT Model — provider-specific models (e.g.
nova-3-generalfor Deepgram).

Step 3: Test in the browser
You don’t need a phone number to test voice. Click the green Test Agent button in the page header. Agntix mints a short-lived LiveKit token, opens a room, and joins the agent automatically.
- The agent responds quickly (sub-second time-to-first-audio is normal).
- TTS sounds right (voice, speed, language match what you configured).
- STT captures your speech accurately (check the Calls tab’s transcript if available).
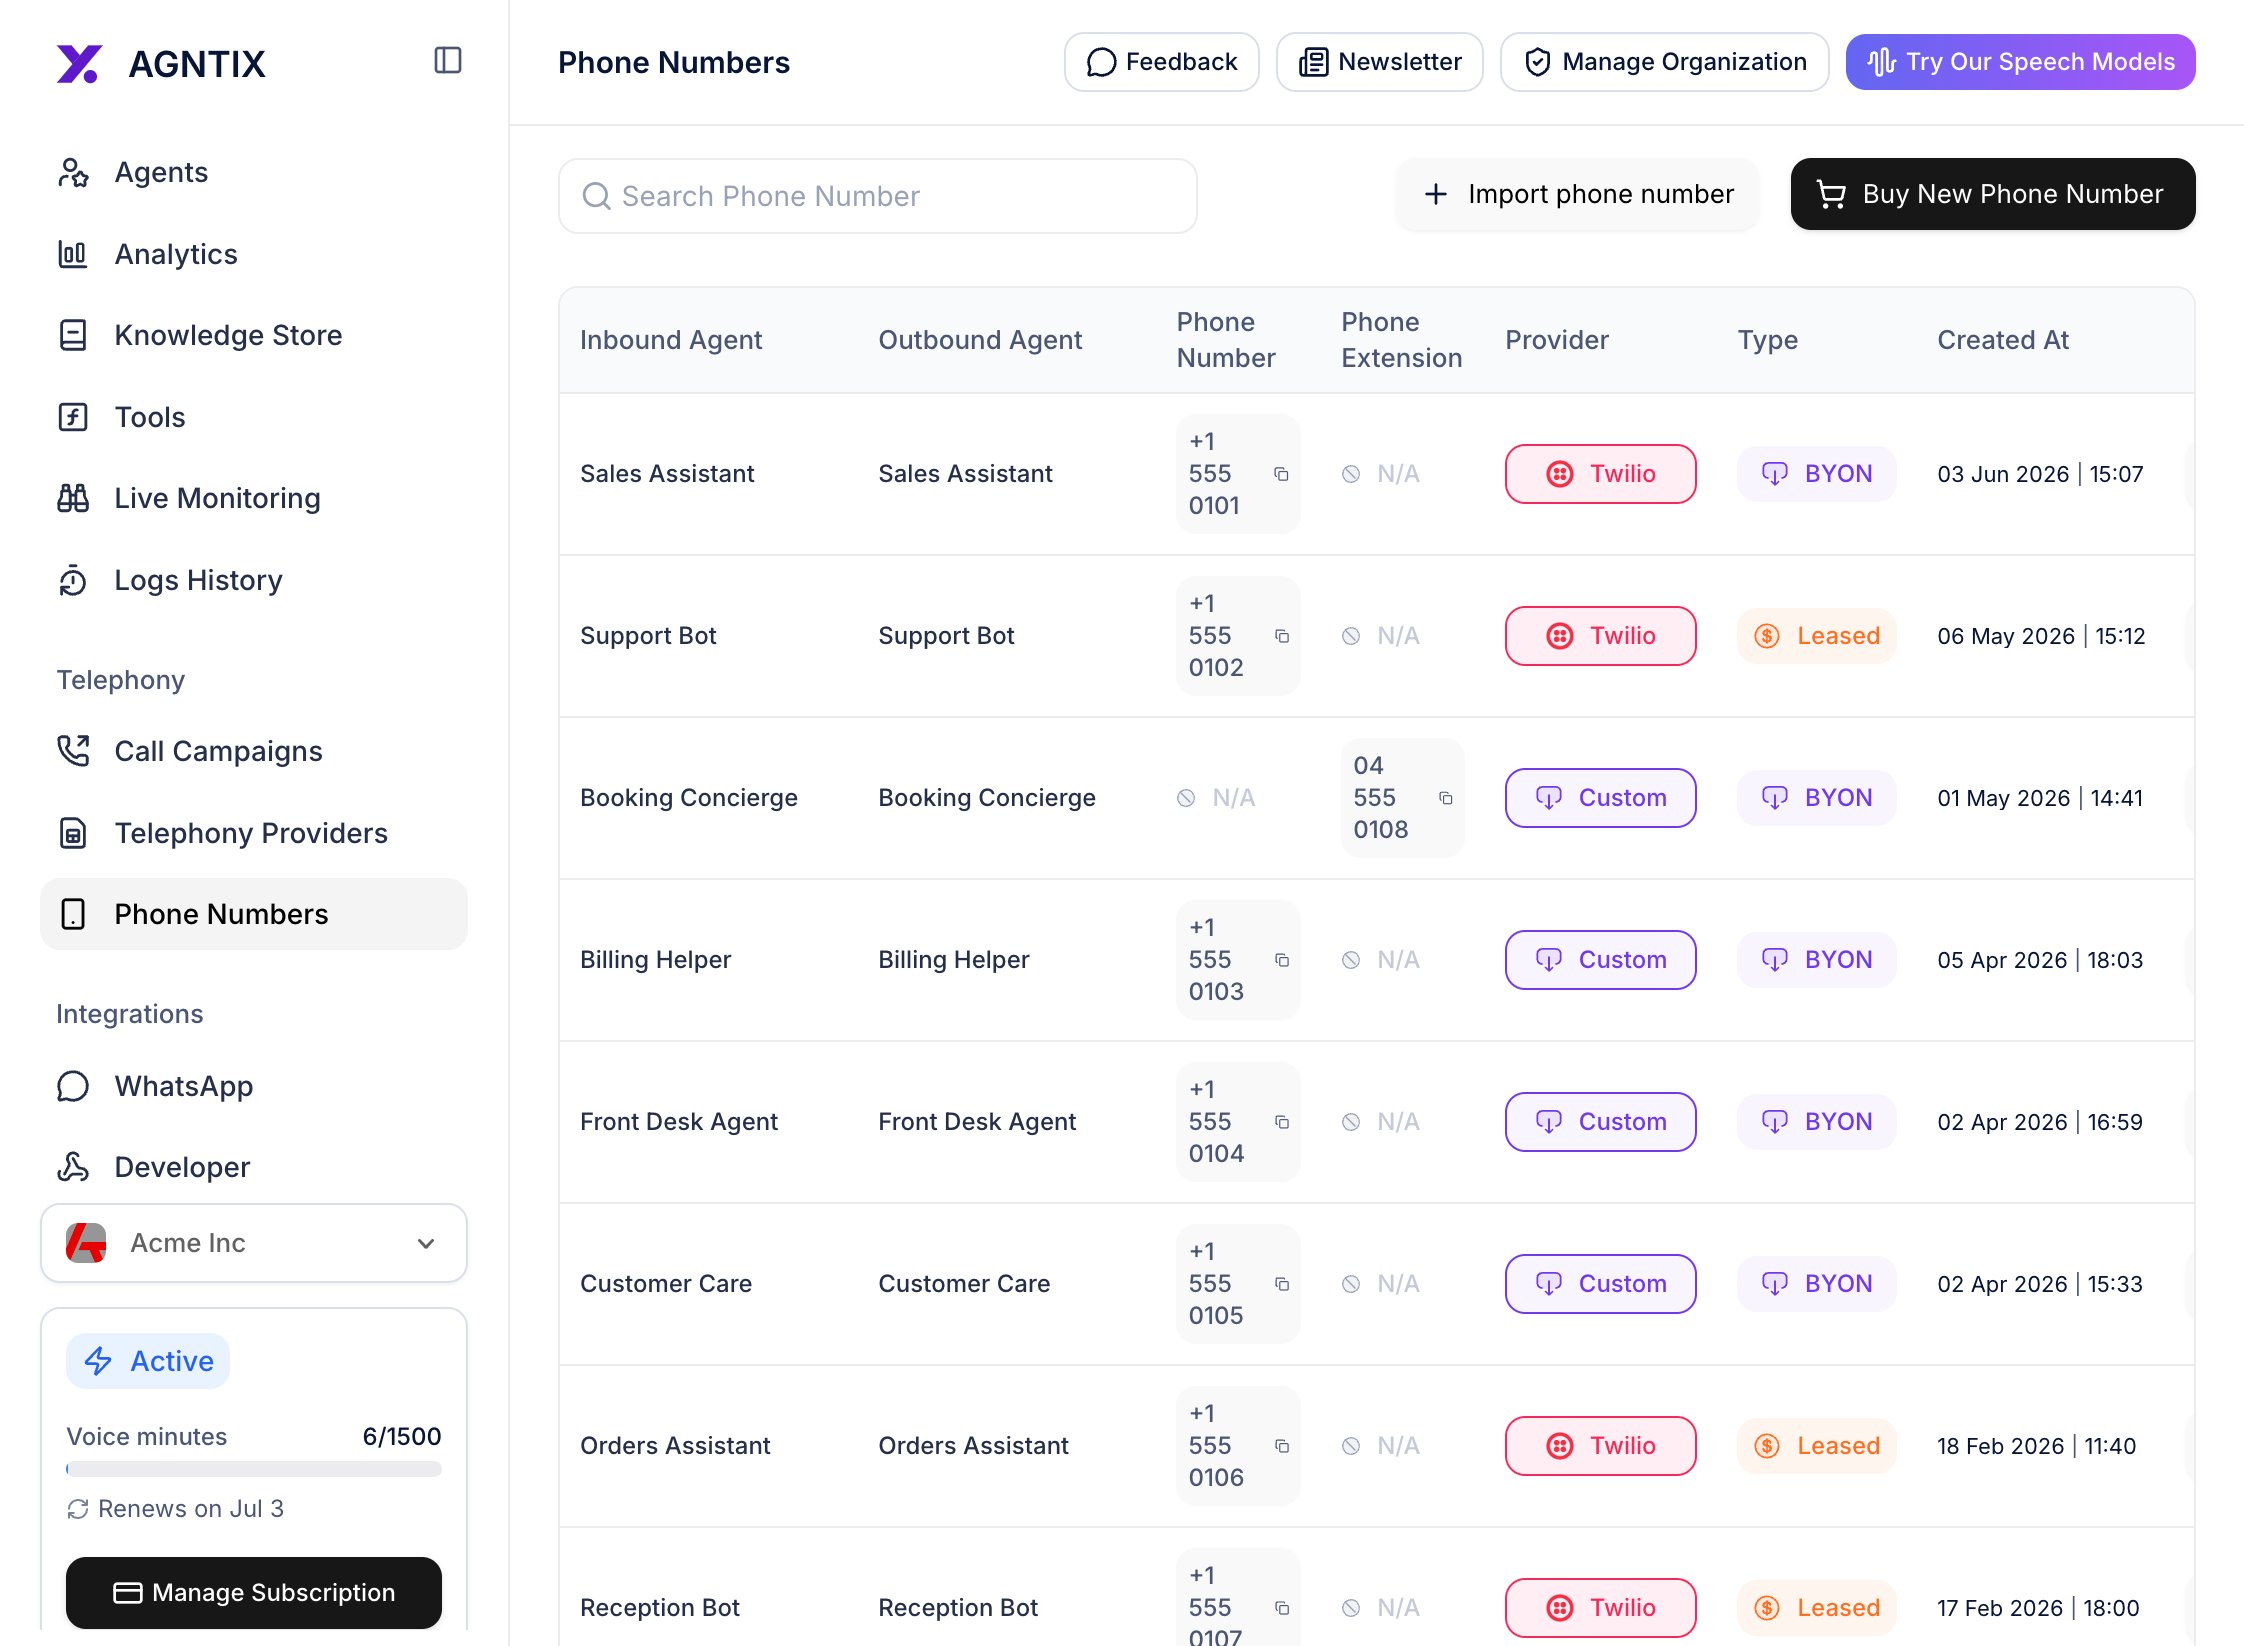
Step 4: Attach a phone number
To accept real phone calls (inbound) or place them programmatically (outbound), attach a phone number.- Open Phone Numbers from the left nav.
- Click Import in the top right.
- Pick a provider (Twilio / Telnyx / BYON), select or paste the E.164 number, and choose which agent handles inbound and outbound traffic.

Step 5: Place an outbound call
To place a real call out:- On the Phone Numbers list, click the phone icon on the row whose outbound agent is the one you want to call from. Or open the agent’s detail page and click Initiate Outbound Call in the header.
- Enter the destination phone number in E.164 format (e.g.
+14155550123). - Optionally pass session variables — key/value pairs available to the system prompt as
{{variableName}}. Useful for personalizing (e.g.customerName=Alex). - Click Call.

Verify it works
- The Test Agent browser session connects without errors and the agent speaks back.
- Inbound calls to the attached phone number ring the agent (not voicemail).
- Outbound calls from the dashboard reach the destination phone.
- Each call appears in Logs / History with a transcript and audio.
Advanced voice tuning
The Calls tab also exposes these knobs (collapsed by default — open the Advanced section):| Setting | What it does |
|---|---|
| Allow Interruptions | If on, the agent stops talking when the user starts speaking (barge-in). |
| Preemptive Synthesis | Start TTS before the LLM finishes — cuts perceived latency at the cost of occasional cut-offs. |
| Welcome Mode | Whether the agent greets the user immediately, after silence, or only when spoken to first. |
| Background Noise Config | Add ambient noise (light office, café) to make the call feel more natural. |
| End-of-Turn Detection | Heuristic (silence threshold) or SmartTurn (model-based). SmartTurn is better in noisy environments. |
| Interrupt Speech Duration / Min Words | How long / how many words the user must speak before the agent yields. |
Common next steps
Call campaigns
Place outbound calls in bulk against a contact list.
Function tools
Let the agent end calls, transfer to a human, or invoke your APIs.
Streaming events
Subscribe to per-utterance events from your backend.
Webhooks
Receive
session.updated and call.ended events.